
Invoker Eul Combo: Timing, Slot Preparation and Practice
Learn how to prepare Sun Strike, Chaos Meteor and Deafening Blast, calculate landing windows, diagnose missed casts, and separate browser drills from Dota 2 Demo practice.
Updated
On this page
- Start with a repeatable test, not a kill promise
- Calculate the release time from the landing time
- A worked example with explicit assumptions
- Prepare the slots and the queue separately
- Execute the sequence without losing the slot state
- Measure damage under stated conditions
- Add positioning and defensive responses one variable at a time
- Diagnose the miss before repeating the whole combo
- Train the keyboard portion on Invoker Game
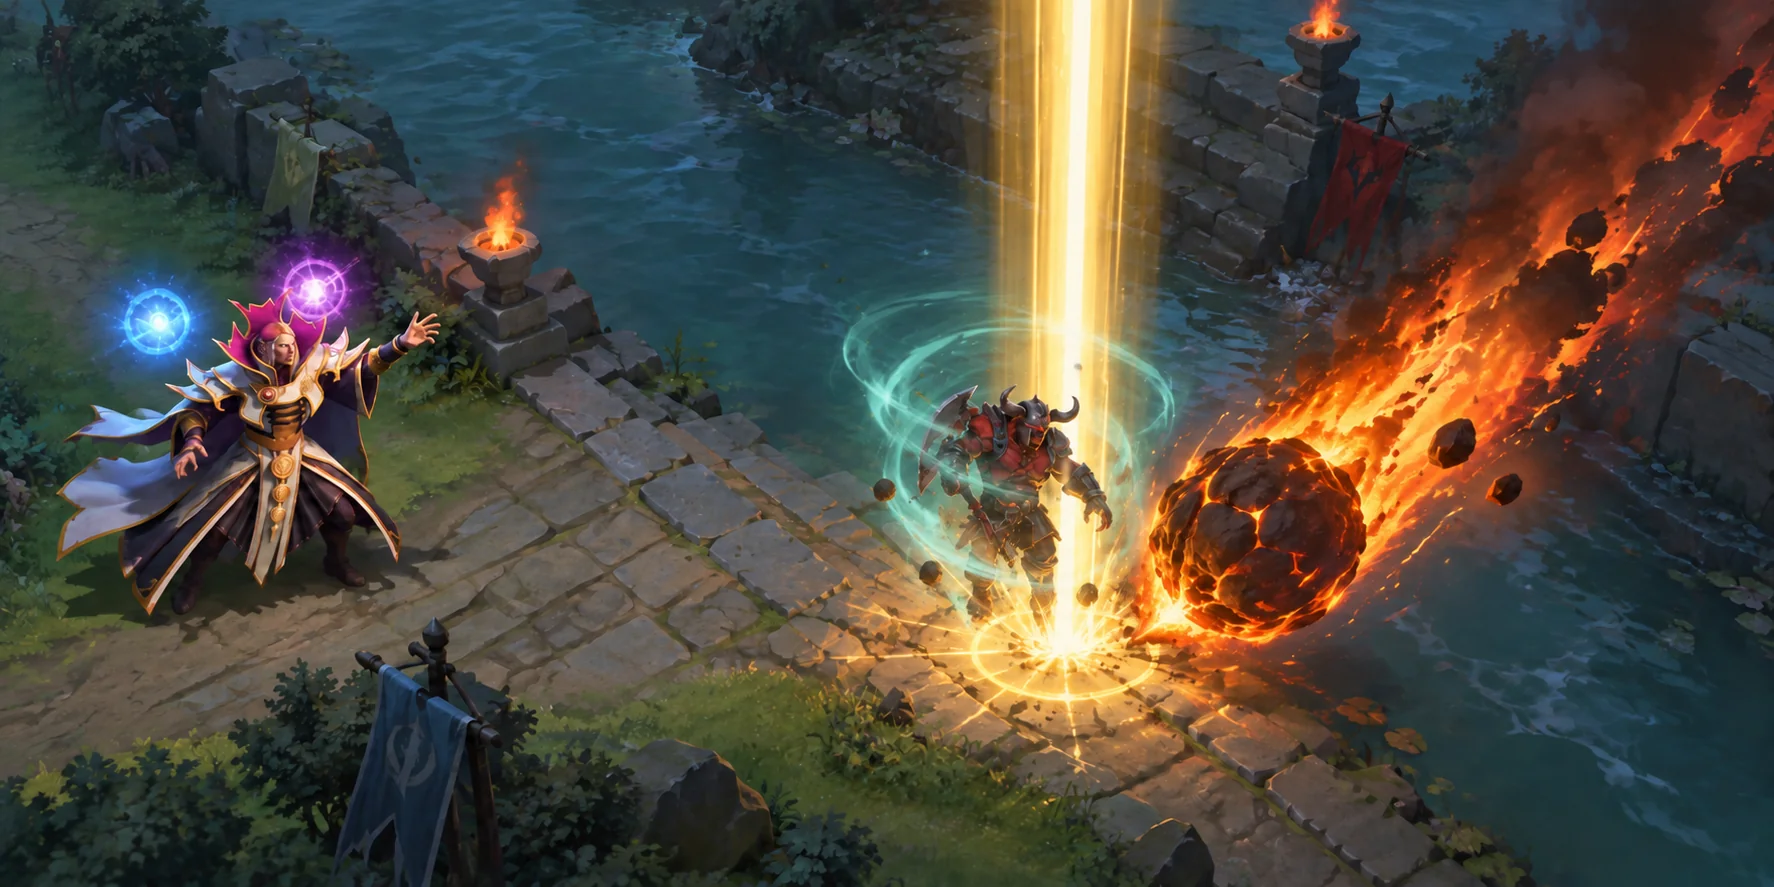
The Eul setup combines three different tasks: preparing the right spells, aiming at a predictable landing point, and releasing each spell at a suitable time. Learning the keystrokes is useful, but it does not make those tasks interchangeable. A fast invoke can still produce a missed Sun Strike, and a correctly timed Meteor can still leave a surviving opponent.
This guide follows  Sun Strike,
  Chaos Meteor and
  Deafening Blast from preparation to review. The queue examples describe reproducible inputs in Invoker Game. The timing example is an explicitly simplified calculation, not a claim that we measured the current Dota patch or an unavoidable kill threshold.
Start with a repeatable test, not a kill promise
In Hero Demo, choose one stationary enemy target and keep its level, items and defensive state unchanged between attempts. Set Invoker's abilities and inventory, then record those settings. Start without a Blink approach, allied damage or multiple targets. Removing those variables makes it possible to tell whether a miss came from your release timing or something else.
Test Sun Strike with the lift first. Add Meteor only after the first spell lands consistently. Add Blast last. If the complete chain fails immediately, you otherwise have three timing decisions and an aiming decision to diagnose at once.
A useful goal is ten attempts with the same conditions and a written count of hits, early impacts and late impacts. Ten is a convenient practice sample, not a proficiency requirement. Repeatability matters more than your single best-looking clip.
Calculate the release time from the landing time
Define the start of your timeline as the moment the target enters the cyclone, rather than the moment you begin reaching for the item key. Those events can differ because of movement, targeting and command processing.
For a simplified landing calculation, define:
| Symbol | Meaning | How to obtain it |
|---|---|---|
L | Time from lift start until the target becomes vulnerable | Observe the actual target in Demo |
d | Delay from a spell's release until its relevant impact | Check the tooltip and confirm in the experiment |
c | Time between your input and that release | Includes relevant cast preparation; do not assume it is zero |
epsilon | Small adjustment after the vulnerability boundary | Tune from observed early and late impacts |
The planning relationship is input time = L + epsilon - d - c. This is a way to organise measurements. It does not model every engine interaction, and it does not justify claiming that two hits occur on exactly the same server tick.
A worked example with explicit assumptions
Suppose your test uses a lift lasting 2.50 seconds, a Sun Strike release-to-impact delay of 1.70 seconds, and a Meteor delay of 1.30 seconds. Ignoring input-to-release time and boundary adjustment for this illustration gives:
0.00  Target enters cyclone: timeline begins
0.80  Sun Strike RELEASE: 2.50 - 1.70
1.20  Chaos Meteor RELEASE: 2.50 - 1.30
2.50  Intended landing boundary
These are release marks under the stated assumptions, not universal keypress instructions. Meteor follows Sun Strike by 0.40 seconds in this example; it is not cast immediately after it. If your measured delays differ, substitute them into the equation instead of preserving the old marks.
Blast needs its own observation because its impact also depends on the wave reaching the target. Do not append an arbitrary fixed timestamp to the table and assume it establishes a gapless disable. Aim, distance, enemy responses and the current mechanics all matter.
Prepare the slots and the queue separately
A useful starting state for the execution example is:
- D: Sun Strike.
- F: Chaos Meteor.
- Queue, oldest to newest:
EEW.
The active queue does not have to match the most recently invoked spell. You can change orbs without invoking again. That distinction lets you prepare the next transition while keeping two useful spells available.
To build this state from an empty trainer queue, invoke Meteor with EEW R, then Sun Strike with EEE R. The new Sun Strike occupies D and Meteor moves to F. Press W without Invoke: the queue changes from EEE to EEW, while the slots remain unchanged. In Dota, allow for the actual Invoke cooldown while preparing; the browser does not enforce that wait.
| Preparation step | Input | Queue afterward | D / F afterward |
|---|---|---|---|
| Invoke Meteor | EEW R | EEW | Meteor / previous spell |
| Invoke Sun Strike | EEE R | EEE | Sun Strike / Meteor |
| Prepare the next transition | W | EEW | Sun Strike / Meteor |
Do this before approaching the opponent. Preparing in range of an enemy turns a quiet setup task into a reaction test and increases the chance of an unintended cast.
Execute the sequence without losing the slot state
- Lift and identify the point. Use Eul in Demo and keep track of the target's landing location. Start from the same position for the first set of attempts.
- Release Sun Strike at its calibrated mark. It is in D in this example. Aim at the landing point rather than at the elevated visual model.
- Wait for Meteor's separate release mark. Use F, and observe the direction in which the meteor travels after landing. In the simplified example above, its release is 0.40 seconds after Sun Strike.
- Prepare Blast from the known queue. From
EEW, pressingQremoves the oldestEand producesEWQ. PressRto invoke Blast into D. Sun Strike moves to F; Meteor leaves the two slots. - Cast Blast when its contact is useful. Use its current slot and account for the wave's travel. Then reassess the opponent rather than automatically spending another spell.
The two-key transition Q R is valid from EEW, not from every permutation of the Meteor recipe. Starting from WEE, one Q gives EEQ, which invokes Forge Spirit. Both queues originally invoke Meteor, but they are not equivalent starting states for the next input.
This is why reading only the spell icon is insufficient when learning orb economy. The spell depends on orb counts; the next queue depends on order. If you lose that order, deliberately rebuild the required recipe instead of repeatedly invoking the wrong one.
Measure damage under stated conditions
Replace a universal “HP you can kill” table with your own controlled observations. A target's resistance, barriers, avoidance, nearby units, defensive effects and time spent in the Meteor path can change the result. Even nominally pure damage is not a promise that every protection is irrelevant.
For each trial, record starting HP, ending HP, whether all intended spells connected, and whether a defensive effect triggered. Separate an initial burst reading from later damage over time. Do not compare one attempt measured immediately after landing with another measured after the target has remained in the burn area.
| Trial field | What to write down | Why it matters |
|---|---|---|
| Build | Patch, levels, talents and upgrades | Makes the result reproducible |
| Target | Hero, resistance, items and starting HP | Explains differences in damage taken |
| Geometry | Distance, landing point and Meteor direction | Explains contact duration and misses |
| Outcome | HP at the same observation point, hit/miss and defensive response | Separates execution from target durability |
If you calculate damage, document which components receive each multiplier and which were actually observed. Do not turn an estimated number of Meteor contacts into a guaranteed kill threshold. The practical decision is whether the commitment is worthwhile with your information, not whether a table promises success.
Add positioning and defensive responses one variable at a time
Once the stationary test is repeatable, change your starting angle, then add distance, and only then add a Blink approach. An approach can alter facing, targeting and whether you are already within cast range. There is no universal turn-time saving that can be inferred just from a keyboard sequence.
Against spell block, verify which action actually consumes the block before committing Eul. Against a defensive trigger such as Aeon Disk, watch for the effect and decide whether to hold follow-up spells. Against debuff immunity or an ally's save, test the relevant interaction in the current client rather than assuming that a damage type determines every outcome.
Do not apply the generic formula “duration × (1 − status resistance)” to every lift. First establish whether that specific effect is modified in the current version. If the target's landing changes, measure it and rebuild the timeline. If it does not change, moving your releases earlier can create the very miss you were trying to avoid.
Diagnose the miss before repeating the whole combo
| What you observe | First thing to check | Next controlled attempt |
|---|---|---|
| Sun Strike appears while the target is still protected | Release too early or incorrect start reference | Test Sun Strike alone with a later release |
| Sun Strike lands after the target moves away | Release too late or wrong landing point | Keep the target and position fixed; adjust one variable |
| Meteor hits but little follow-up damage occurs | Direction and time in the path | Repeat from a consistent angle |
| Forge Spirit appears instead of Blast | Queue was WEE, not EEW | Read the queue and practise the transition slowly |
| The wrong spell is cast after Invoke | You used the old D/F position | State both slot names before the next keypress |
| The target survives a clean-looking sequence | Defensive effects or damage assumptions | Record HP and effects at a fixed observation point |
A failed trial is useful when it changes the next trial. Repeating the whole combo faster without identifying the miss usually hides the source of the error.
Train the keyboard portion on Invoker Game
Open Combo mode and use the available Meteor–Blast combination for orb reuse. Its task is to invoke the shown spells, not to cast Eul or aim a projectile. Begin with EEW R → Q R: three initial orb presses, one transition orb and two Invokes. Compare it with rebuilding Blast using three fresh orbs. Review the trainer's efficiency result, not an imaginary landing-time score.
Next, use Combat mode for slot reading. It starts from its own generated state, so it is not a configurable replica of the preparation table. Read the shown queue, D/F and targets before acting; do not assume the tutorial's opening is present.
Finish in Hero Demo with the client timings, aiming and resources restored. Keep a short practice note with the conditions, what failed and what you will change next. The browser makes your inputs more deliberate; the in-game experiment determines whether the actual setup works.
Related reading
Keybinds and mechanics
Invoker Hotkeys: Legacy, QWER and Quickcast Practice Guide
Choose a comfortable Invoker layout, compare cast confirmation methods, avoid item and unit-control conflicts, and test six trainer bindings with a repeatable practice routine.
Mechanics and reference
Invoker Spell Combinations: Complete 10-Spell Cheat Sheet & Mechanics
Review all 10 Invoker recipes, catch queue-order mistakes, and follow browser drills while checking patch-dependent cast and upgrade details in Dota 2.